My idea for the holiday Christmas ornament project was to create something that involved an accordion. I wasn’t sure how I wanted to go about this at first, but I eventually decided to go with a classic vintage indent-styled Christmas ornament with the accordion resting within the indent.
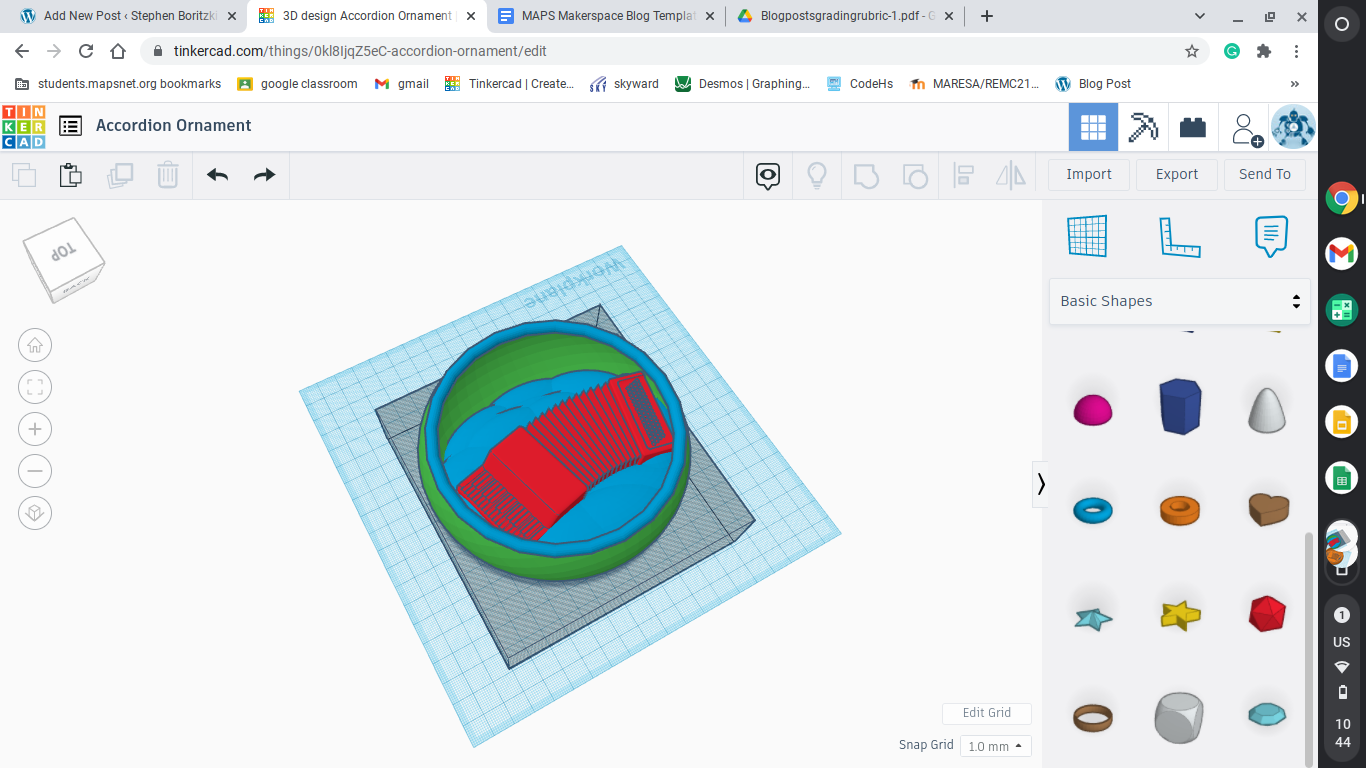
To start my project off, I went with making the accordion first. I used the basic square shape, and within the setting of the shape, I increased the radius to remove the sharp square edges, and make them more round. I then combined these rounded square shapes to create the front and back of the accordion.\
I then took another square and increased the radius a little bit to give a somewhat curved edge for the keys. I didn’t want the keys to be too round, but I also didn’t want them to be too straight either, so I made it right in between. I then duplicated that same shape to create the keys.
After that, I created the bellows. I was trying to think of a way to make them look as good as possible, and found that just regular triangles work perfectly. I made them all of the same size and duplicated them at an angle repeatedly, and it came out with the perfect bellows for my accordion.
Next was to complete the indented ornament. I took a circle, duplicated it, shrunk it down a little, and erased that smaller circle from the larger one. I then created clouds out of circles and placed them so that when I put the accordion inside, it would look like it was floating on the clouds. After I grouped those, I took a torus and made it fit the top/front of the accordion ornament perfectly, so that there would be no sharp edge from the circle cut-out base.
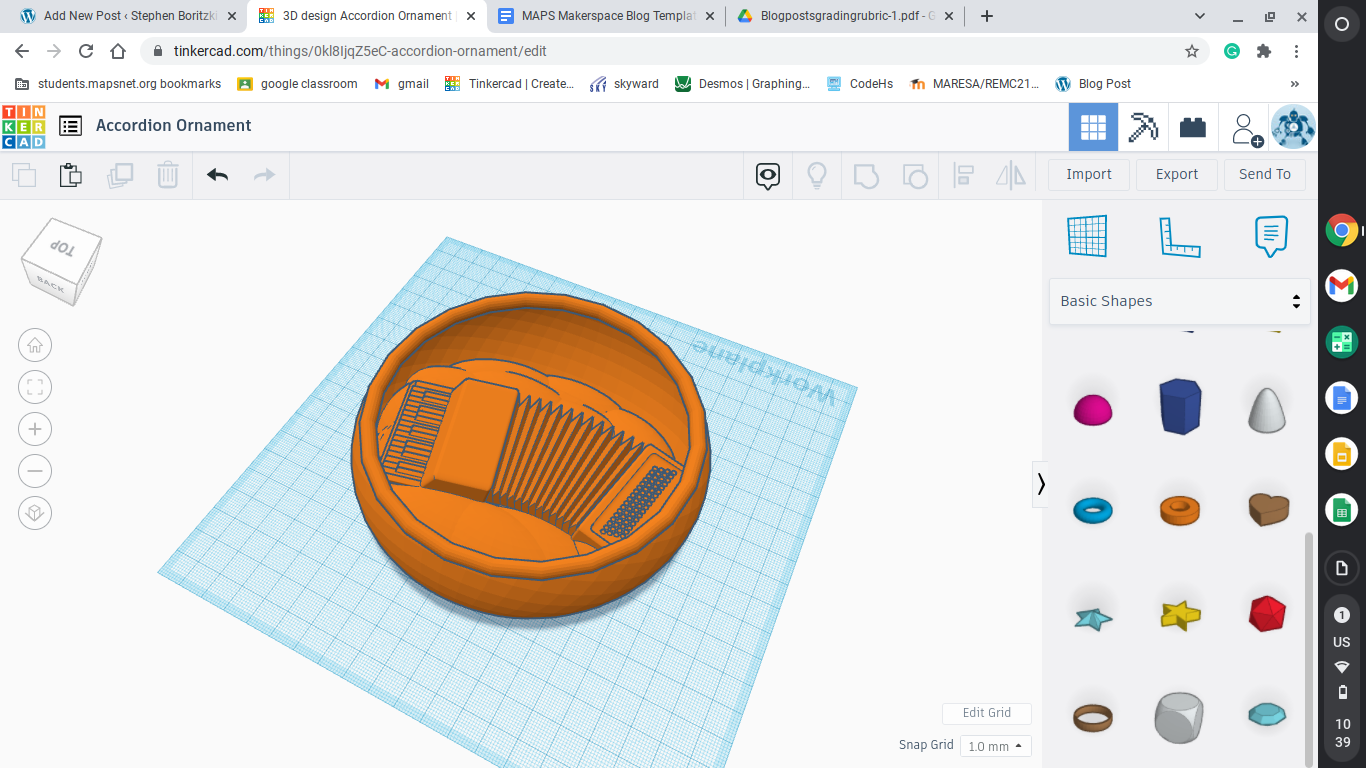
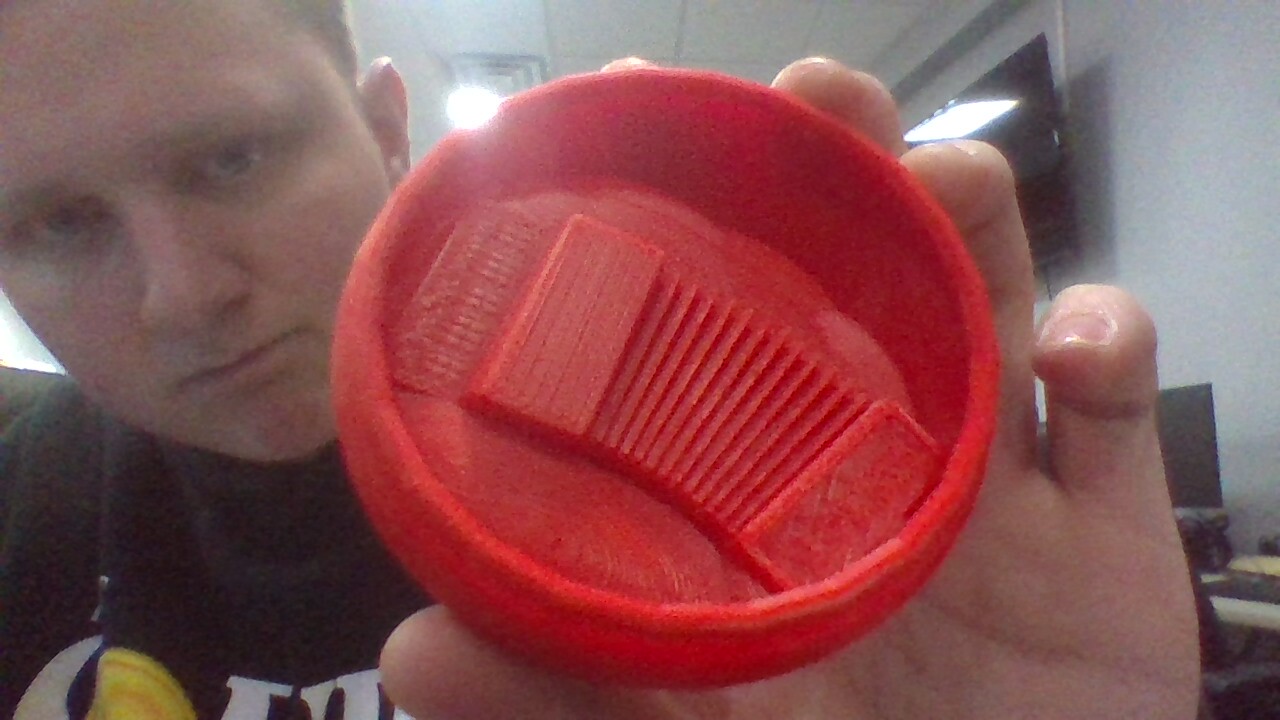
I then combined everything and had the ornament I was looking for. Below are pictures of the ornament file with the different pieces that are being grouped together, the finished ornament file, and a picture of the finished printed project.


To conclude, creating this accordion ornament took a lot of work and time, and within that time I had some things come out perfectly, like for instance, the accordion bellows being only made of triangles, or the accordion keys being a perfect size so that once I duplicated enough for the whole keyboard, they fit perfectly within the base they sat in with equal spacing, and the fact that everything fit together so perfectly. I am honestly really happy with the outcome of what I created, and the only thing I saw that was bothersome, was adding a hold for the wire to go through to hang on the tree. I didnt want to add a hole because I needed the ornament to be perfectly balanced, and I wouldn’t know where to place it if I don’t have the ornament printed and tested to find its balance point. I will be able to fix this issue in upcoming weeks with just general practice, as the more I print, the easier it will be to guess where the balance point would be on an object. Other than that, I am completely satisfied with the outcome of what I have created.