Explain what you chose to make for your exam project and why you chose it.
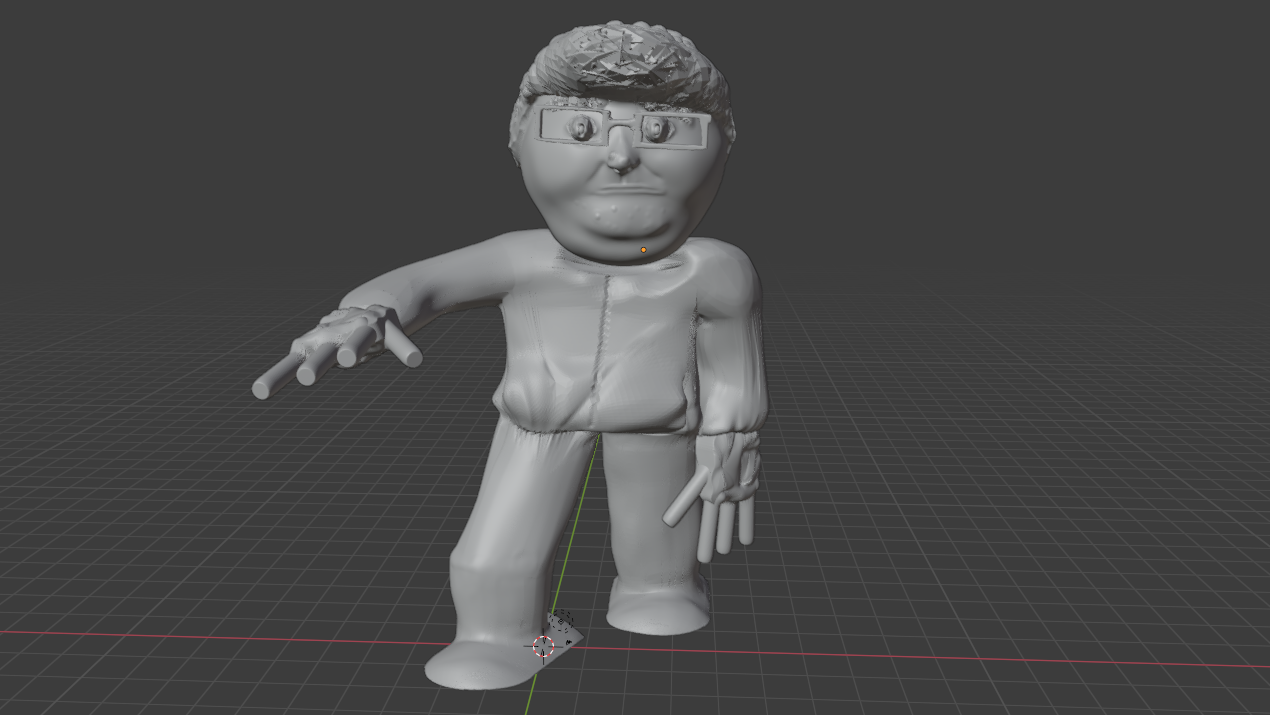
When Devin and I had started looking into what we wanted to make for our Exam, we had been already working on a 3D model of a face within Blender. So, when we were given our 2 Exam projects to choose from, we both knew that making a toy action figure for a child between the age of 5-10 would be the perfect project since we had already been designing faces.
Talk about 2 specific challenges you faced and how you overcame them.
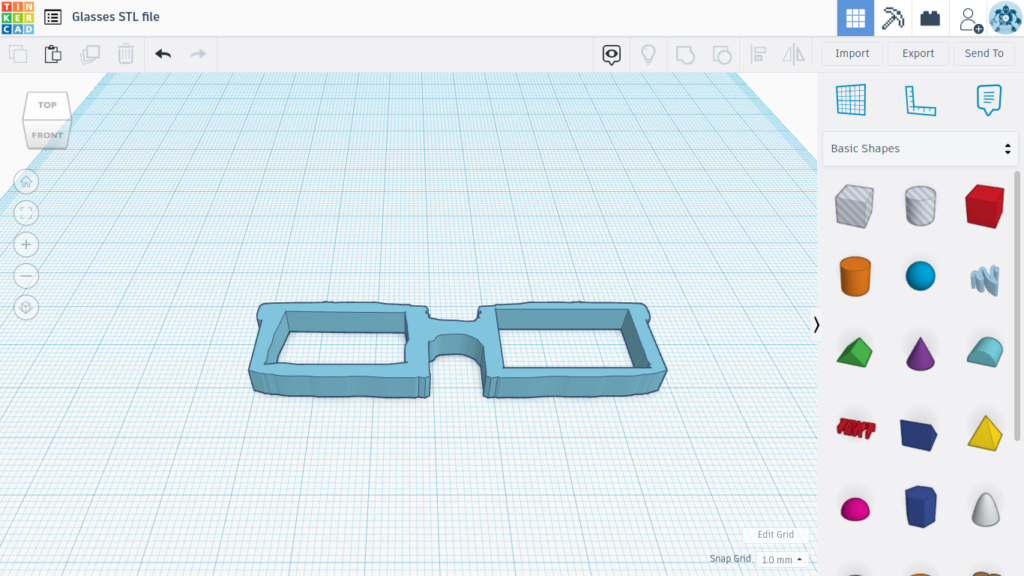
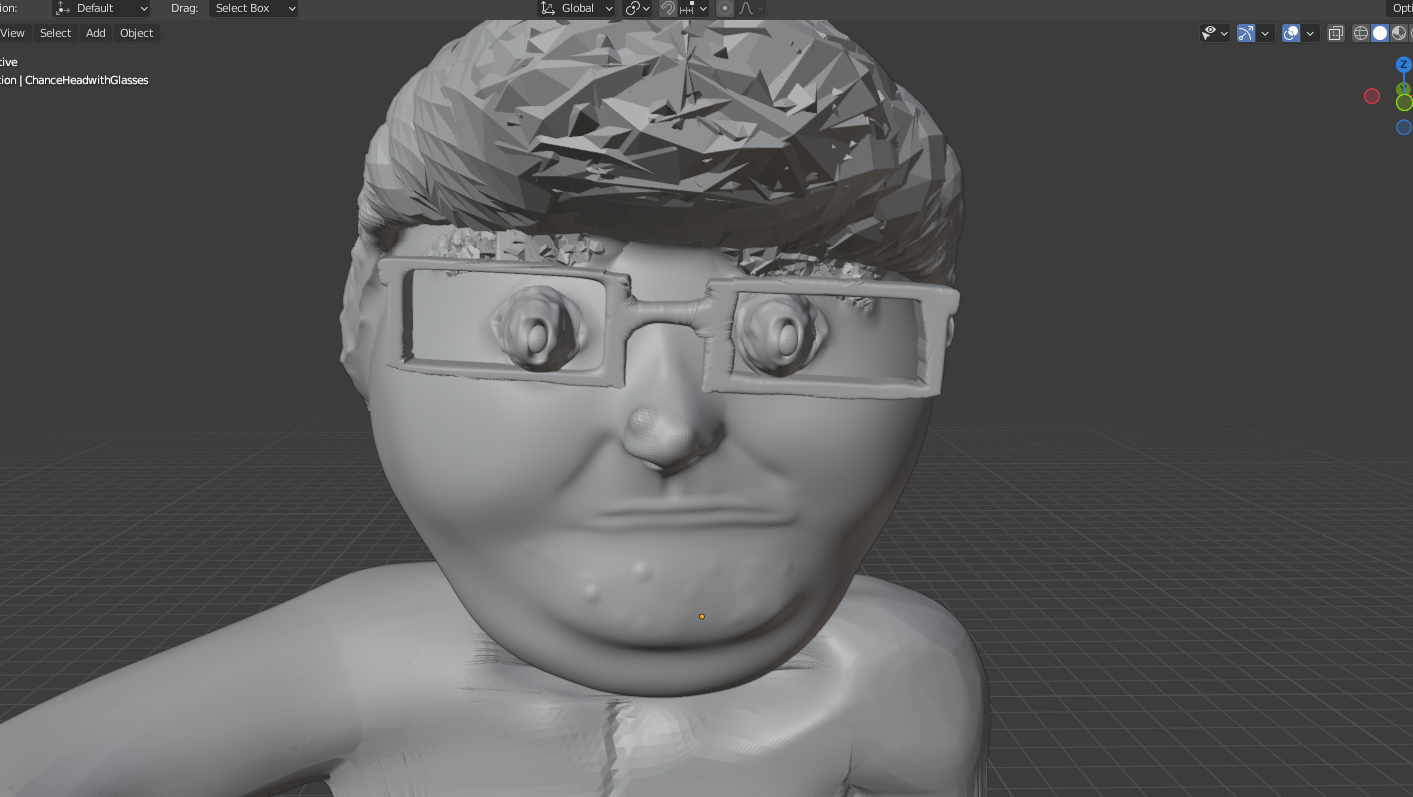
Whilst Devin and I were working, we had come across 2 prominent challenges, of which being; exporting Tinkercad STL. files from my computer and sending them to the computer Devin was using in our SFI class, and being able to take simple/basic and sharp (mainly unrefined) Tinkercad shapes and turn them into smooth parts of the 3D action figure model.
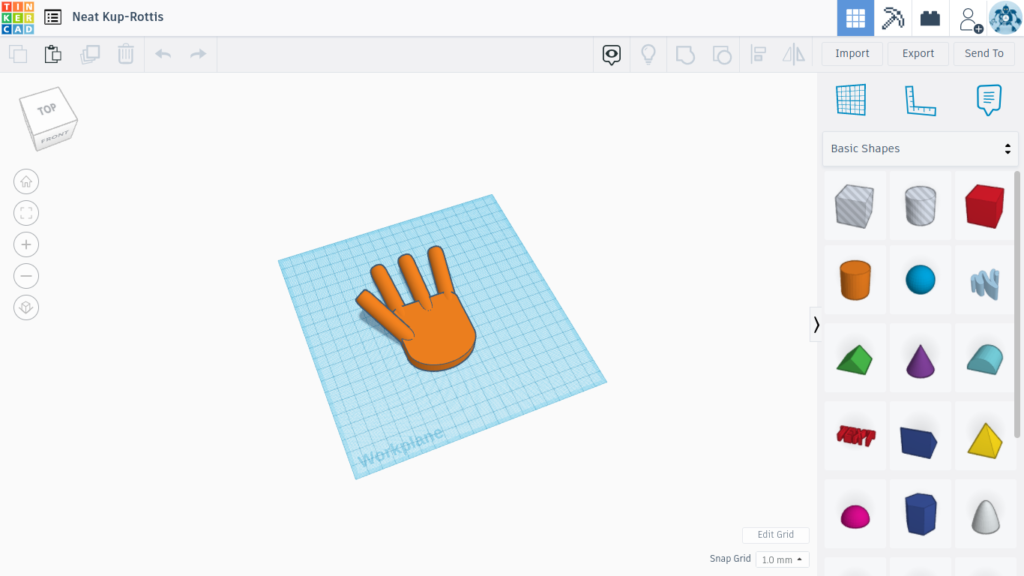
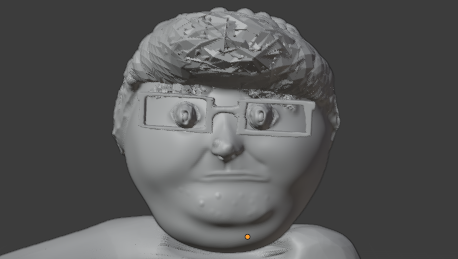
To overcome the first issue (which was exporting Tinkercad STL. files from my computer and sending them to the computer Devin was using in our SFI class), I had come to realize that Gmail is capable of downloading and sending STL. files to other people without any issues. So, of course, I had Gmailed Devin the Tinkercad files, which now leads us into our second issue which was being able to take simple/basic and sharp (mainly unrefined) Tinkercad shapes and turn them into smooth parts of the 3D action figure model. The problem was that since the files were fairly basic after I completed them, they had a very unrefined look to them (which is the result of sharp edges and basic 3D models/shapes). We had overcome this challenge by taking the models within Blender, subdividing them immensely, and using the sculpt mode to shape and contour each object. This made the models more realistic, and had overcome the “basic shape” problem we had encountered.
What was your favorite part of this design? Why did you enjoy that part.
Personally, I enjoy every part of this design as it is very cool and unique, but I will say that the face is the most detailed part of the whole model. So, that being said, I would have to say that the face is my favorite part, due to the amount of time and quality design work that was put into it.
What program did you choose to use for design? Talk about how your skills have changed this semester.
We had used both Blender and Tinkercad, as I was more proficient on Tinkercad, and Devin was more proficient on Blender. Even though I had more experience on Tinkercad, I have definitely learned a lot about Blender and even worked on half the project there myself. I started off not knowing anything about Blender, but over time have gained many skills such as merging, meshing, subdividing, sculpting, duplicating, and many more in-depth skills.
Show at least 3 pictures that support your blog. Caption the pictures explaining what they show. You should mix them in with your writing to break it up for the reader, rather than just pasting them at the end.
Here is the link to the google slides presentation which contain the screenshots/photos for the model within Cura, Blender, and Tinkercad:
https://docs.google.com/presentation/d/1dowsPxyIbIDVnvvZuGfqRNet4Z7pDQpGjxh_snTUKSI/edit#slide=id.p
